A blog about making art and other things using cloth, paper, paint, colour, stitch, and all sorts of exciting techniques, some of which I'm sure I still have to discover! I hope that the joy all this gives me is visible in what you can see here.

Wednesday 21 December 2016

Fun and smiles with paint and paper.


What to do on the shortest, cold, wet and very dull grey day? Well, get out the paints and paper ofcourse!


I rollered, stamped, scraped and brushed paint onto some heavy cartridge paper. No idea where it was going, but I just needed to make a start at least, so decided to have fun without any pressure.


While looking for something interesting to collage with, I came across a sheet of funny little bird sketches that I must have doodled when I was trying to come up with an idea for something, so I just tore them out, stuck them down and gave them a quick wash of paint. They made me smile, so at least a positive result in one way at least.


My dragonfly prints on cotton have now been given a background of stitch and paint, some glitter glue, and two will become postcards, the third one below an ATC.


Just a bit of stitch to be added on the last one.
Well, I will also take this opportunity to wish all of my fellow Bloggers, and visitors a very Happy Christmas, and a healthy, happy and peaceful New Year.
See you in 2017.


Saturday 10 December 2016

This and That!


Last week I decided to have a play around with some printing on fabric. As I have done before, I used  those foam sheets that you can buy for kiddies to play around with, and cut out a dragonfly. I like to add some detail by drawing into the surface with a pointy tool, then I roll acrylic paint across the surface and print onto paper or cloth.


Extra colour can be added with paint or crayons, and then I like to add other details or outlines with machine or hand stitch.

I was so excited this week to receive the book below in the post. One of my small art quilts has been included in this beautiful edition in the series, Art Quilts International, Abstract & Geometric. It will be available to buy from the 28th December, but can be ordered in advance from here.


There are some really beautiful photographs of art quilts in this book, all very inspiring! I may only have one small quilt included in this edition, but I feel really thrilled and excited to have a piece of my art published.


I belong to a small art group, and we have set ourselves a challenge to take a photograph every week during 2017. The plan is to mount each photo into a concertina book. I have no idea yet for any specific theme or subject, or whether to just take snaps at random! There are so many ways this could be done, but for the time being, I am just going out and about in Eastbourne and the surrounding area, and just randomly snapping away. I think I am hoping that inspiration will strike!! Below are two attempts I made last week to capture the light in the sky, with the dark brooding surroundings! I'm certainly no photographer, but I intend to enjoy finding some time each week next year to stop, look around and try to be inspired. Who knows where it may lead!


That's all for now, but I hope to be back soon, and thanks for reading.


Sunday 27 November 2016

Slow progress!


I have finally managed to get my sewing/art space up and running after the move, although I still have a couple or three boxes left to unpack as you can see in the picture below!


It's a smaller room than I had before, so I need some more storage! The bookcase is going onto the landing, so that will free up room space.


Mrs. Frou Frou cocking a snoot at me!


It seems so long since I actually really got down to some serious stitching, so apart from the abstract piece I posted about last week, the above little Christmas wall hanging is one of my first attempts at getting back to being creative. If you subscribe to Linda and Laura kemshalls' DMTV, you will know where my inspiration for the Partridge in a Pear Tree, and the little sketchbook below has come from!


For those of you who don't subscribe, the sketchbook is made from a large sheet of good strong cartridge paper that is printed on both sides with acrylic paint, using stencils or printing blocks that you like to use. If you prefer to paint straight onto the paper then that is ok too, in fact you just cover the paper with paint in whatever way you want. The beauty of this technique is that you don't have to be necessarily good at painting or drawing, because the paper is going to be torn into much smaller sections, so that you are left with pages giving some interesting colours, textures and shapes that may inspire further working into.


The spine showing how the four signatures have been stitched together with the back and front cover. I used mountboard for the covers. I used some gelli printed papers that I found in my stash to cover them both.


This page seemed to form a sort of frame, with a space in the middle, just crying out for a small sketch or painting, so I decided to make a small painting of a Six Spotted Burnet Moth.


Some pages are quite densely  covered...


...others less so. I also included some tracing paper in a couple of places, although I'm not sure yet how I will use them.


I found this small ATC that I made a few years ago when I was unpacking. It had been inspired by a visit I made 6 years or so ago to the public toilets in Kawakawa New Zealand, designed by Hundertwasser. It perfectly picked out the colours on this page, with a space that it fitted into perfectly.
If you live in the UK, it looks as though we're in for a very cold snap this coming week, so keep snug and warm. For those of you who live elsewhere, have a good week too, and thanks for reading.


Monday 21 November 2016

Inspiration from my new home town.


My new home town! I took this last week from Beachy Head, looking back and down towards Eastbourne. It was sunny down there, but very misty up on the Downs, but you can still make out the pier.


Talking of piers, just before I moved (which was three good weeks ago now), I decided to explore mark making with acrylic paint on paper, layering it up, scraping it back, drawing and scratching into it. The result was a bit of a mishmash of shapes and colours, and although enjoyable, it didn't really excite me in any way!


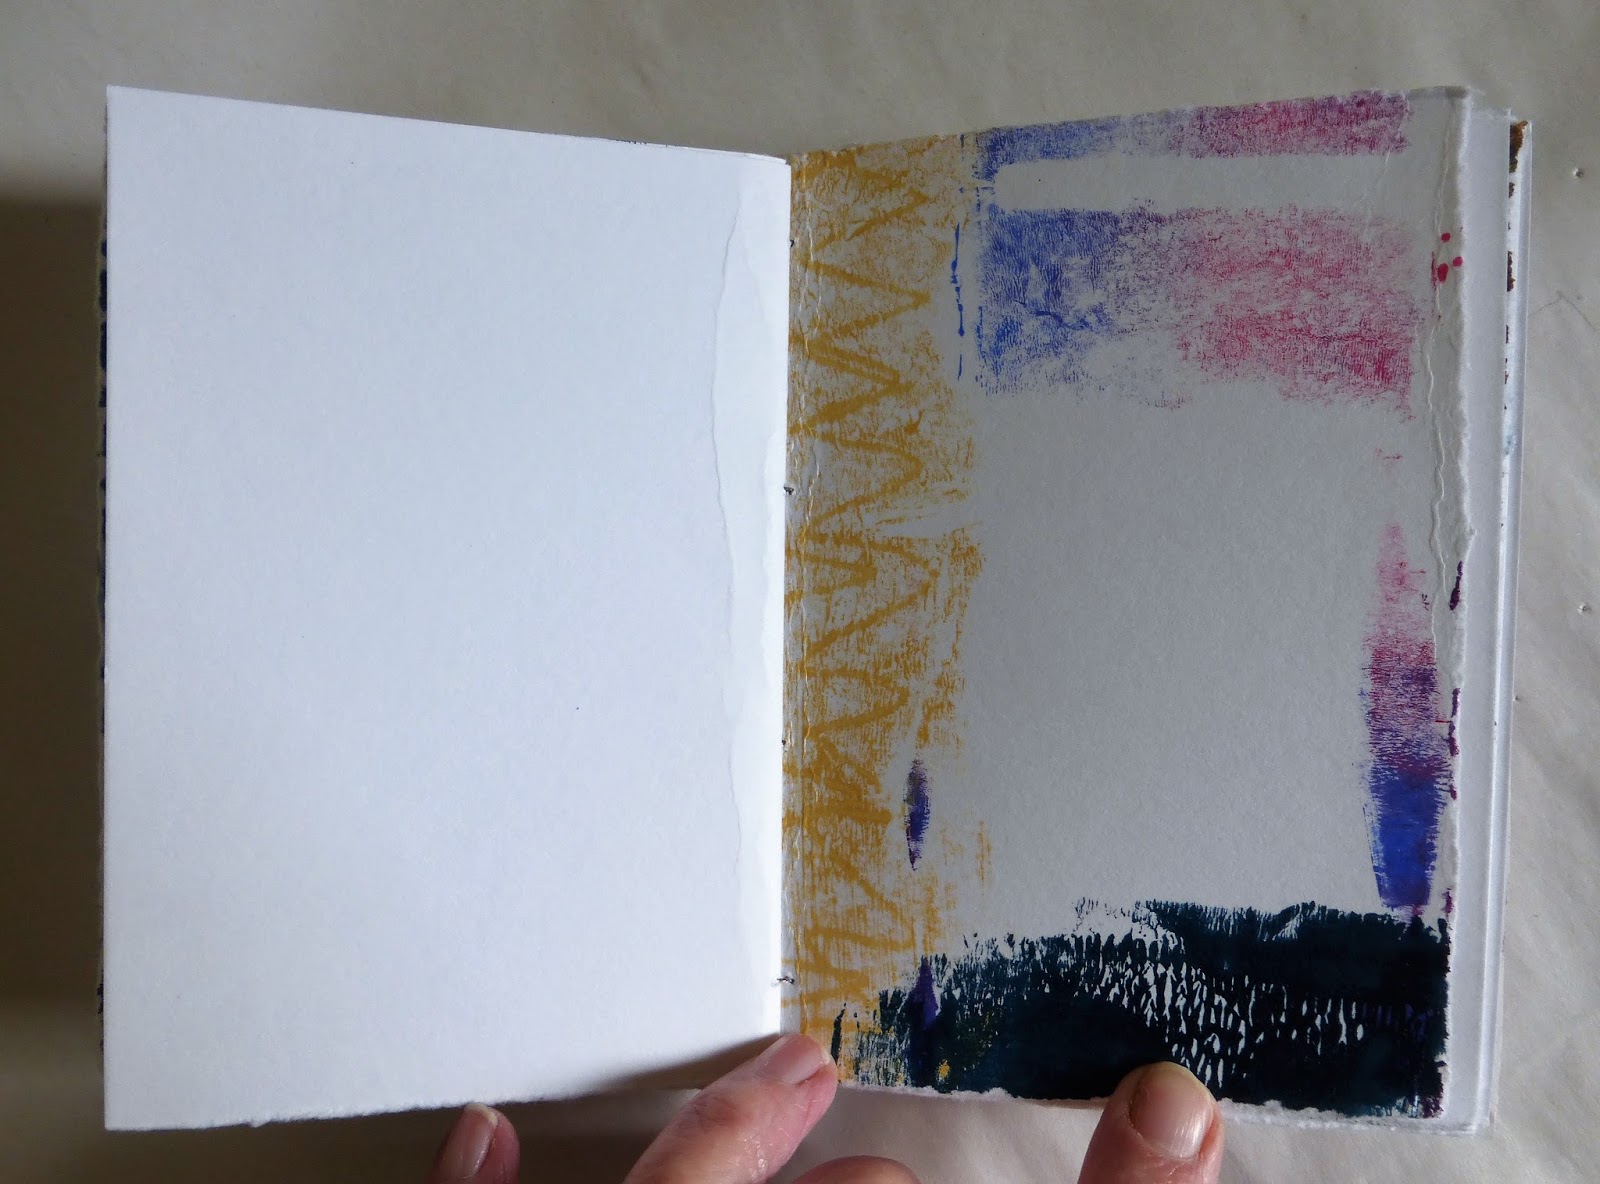
So last week, I decided to make it up into one of those books that fold three ways across, and three ways down before making three cuts along part of three of the folds. Sounds complicated, but is in fact quite straight forward. The paint was so thick in places that it cracked on the folds, but that just seems to have added even more interest to the texture.


This action gives smaller sections from the whole piece, which are often far more interesting, and can inspire some ideas for further work.


The section above reminds me of the structure for a roller coaster, and the section below reminds me of an old, damaged pier!


I printed this one off onto some cotton cloth, which seems to have picked up quite a bit of the textural detail. I have started to machine stitch into it, but will continue to add yet more stitch, and maybe some extra colour.


It has been a very busy couple of months, packing up one house, and then unpacking everything again into my new home. Trying to find my way around a new area, working out where the best car parks are, and how to get to them without getting lost!  All very exciting, and I am absolutely loving being here. However, it was really good to be able to get back into some creative stuff today, and as the weather was very wet and windy, I wasn't so tempted to explore outside!


My new garden is also rather lovely, and I'm sure it is also going to keep me quite busy once spring arrives! Thank you for stopping by, and I hope you will continue to join me on my new adventures by the sea, I am sure there will be plenty to inspire me in my new surroundings.


Tuesday 20 September 2016

Bird and Colour Play


You may have seen this image before on my blog, but I recently discovered 'Woven Monkey', a website where you can upload your art and after playing around with repeat patterns, it can be printed onto fabric.

So then I decided that it may look better on a coloured background, and have downloaded the above two images onto their site. I may send off for a sample of each one. 


Playing around with other background colours, but as yet these are still only on my computer! It's quite an interesting exercise though, because even if I printed them onto paper, they cold possibly be used for greetings cards.


Finally, inspired by some of Mandy Pattullo's textiles, I decided to try and use some of my late husbands shirts as a background for some hand stitched applique. I am hoping to move house at some point, hopefully before Christmas, but the buying and selling process, and the sorting out of a home that has been gathering 'stuff' for over 26 years can be quite stressful! The hand sewing is calming, and as my sewing room is upside down, this seemed the best option to help quench my creative urges until more settled times!


Tuesday 9 August 2016

The dead end journey of an idea!

 Gelli print above.
simplified sketch of jelly print.
 Sketch drafted onto cotton cloth and coloured with Derwent Inktense blocks and pencils.
 Didn't like it so I sliced it up and re-arranged it.
The verticals seemed too strong so I added some squares to break up the lines and stitched them down I also added some further stitching to outline some of the shapes.
 Didn't like it, so I painted over it all in white paint, and then started to colour it in again.
 Oh dear, it still wasn't working, so I added lots of gold paint and used some stenciling before cutting it up into six postcards!


Better than just chucking it in the bin I suppose, and at least I have some cards for friends when I forget to buy some.